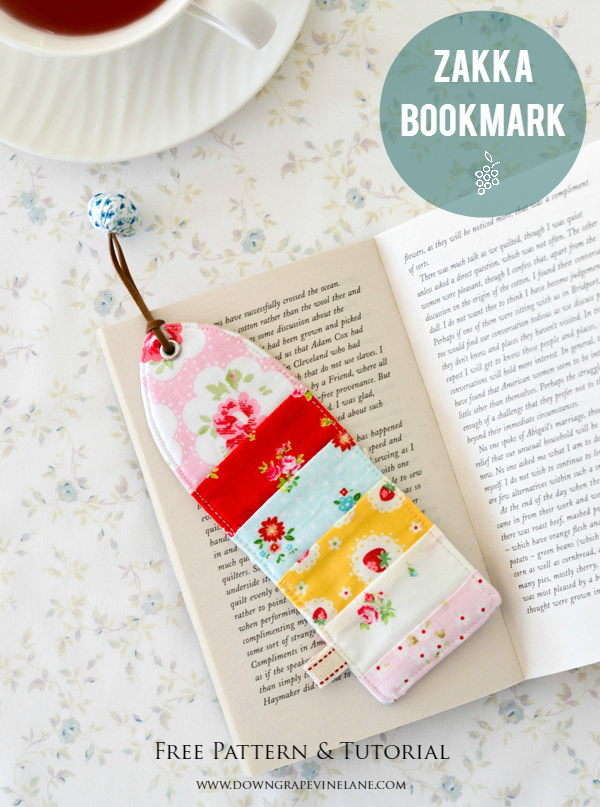
Here are the step by step instructions to make the
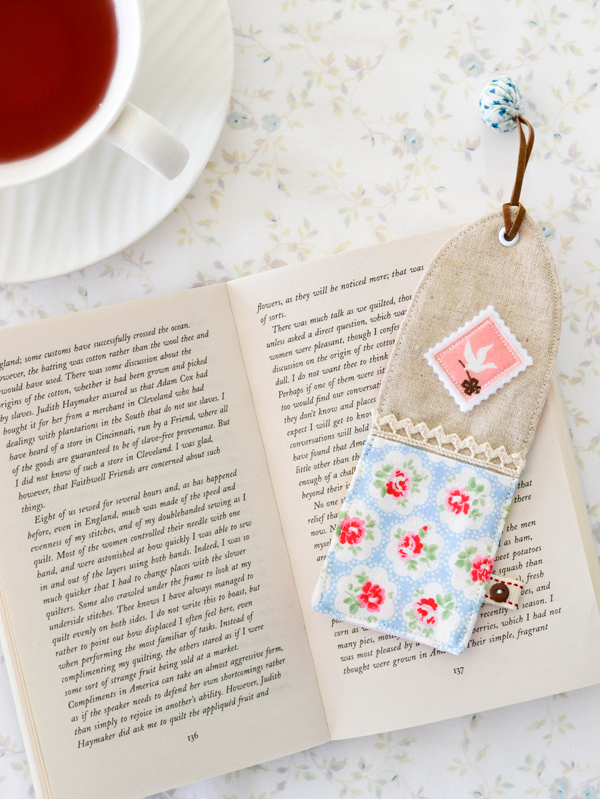
scrappy bookmark I blogged about back in October. I still use it every day.
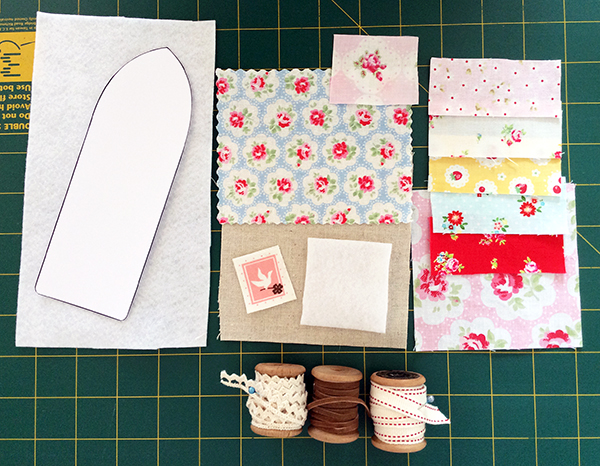
MATERIALS:
You will need:
- The pattern - download it from
here as a PDF and print it to A4. I have provided the pattern for a rectangular bookmark as well as the curved shape I have used, pick one and cut it along the line.
- 10 x 20cm piece of wadding or felt
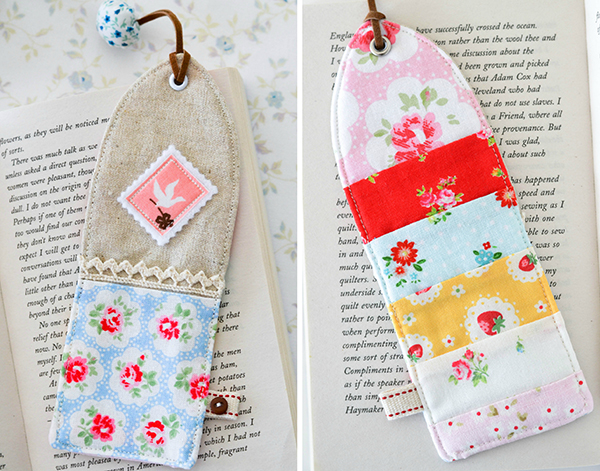
- Front patchwork: 8x9cm of floral fabric, 8x11cm of linen
- Back patchwork: 3.5 x 8cm strips of 5 different floral fabrics, and a 7x8cm of floral fabric for the top section
- Ball: A fabric circle of 5cm diameter and a small amount of filling material (polyfill or cotton wool)
- Stamp patch: A fussy cut scrap of fabric, a piece of felt 1cm larger all around, and a piece of fusible web the same size as the stamp
- 6cm of crochet lace, 15cm of leather cord, 4cm of decorative ribbon for the tag, a small button
- An eyelet and an eyelet punch / pliers
 STEPS:
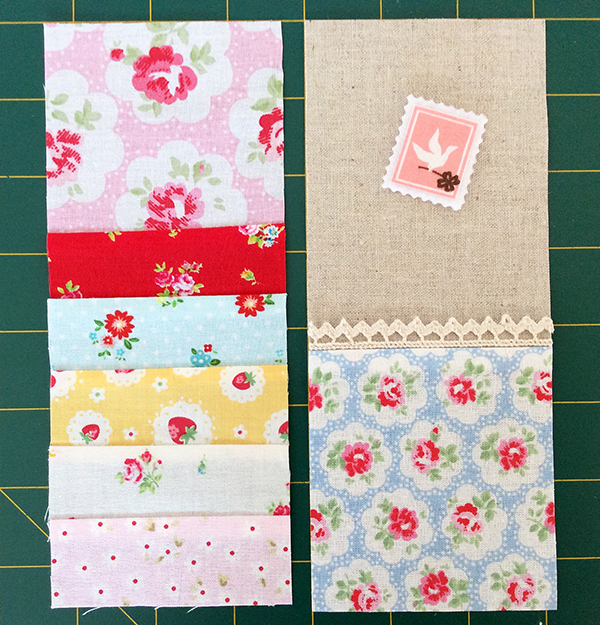
1. Using a 1/4 inch seam allowance sew the patchwork pieces together for the front and back of the bookmark. Sew the crochet lace just above the seam between the linen and floral fabric.
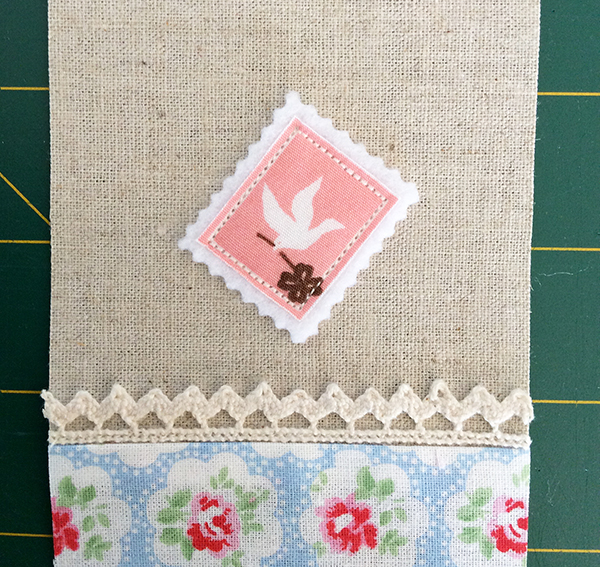
2. To make the stamp, fuse the piece of fabric onto a piece of fusible web using your iron (I used Heat'n Bond Lite) , trim the edges neatly, peel back the paper backing, and iron onto your piece of felt. Trim the edges of the stamp with pinking shears or scallop scissors as I have used here. Position on the linen and sew it on using a short stitch length.
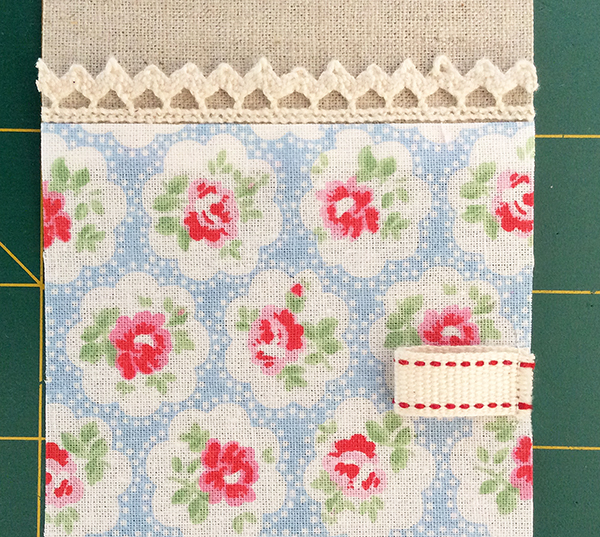
3. For the ribbon tag, fold the ribbon up and sew on the edge as shown, going back and forth a few times.
4. Trace the pattern on the back of your front patchwork. Then sandwich the layers, with the felt at the bottom, back patchwork next, front patchwork on top. Pin the layers together, and sew along the line making sure you leave a 3cm gap at the bottom to turn inside out.
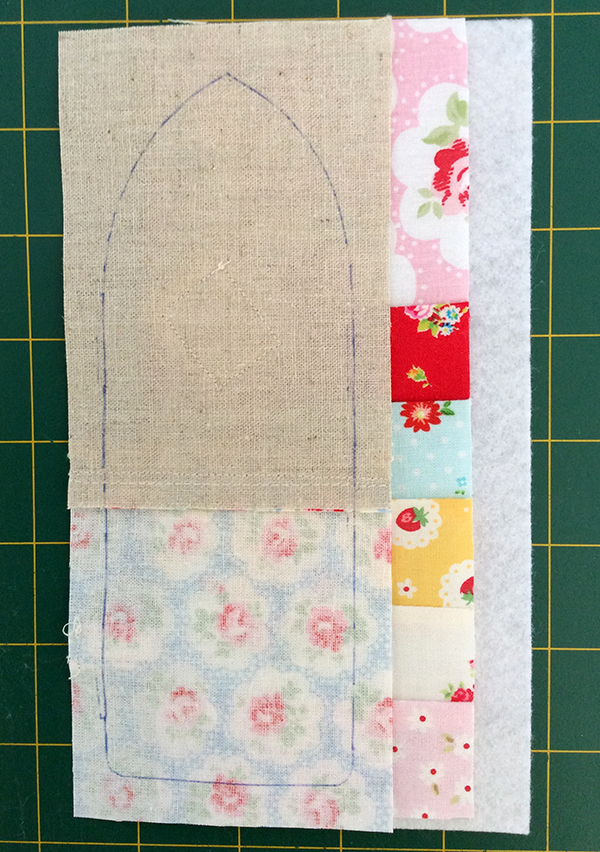
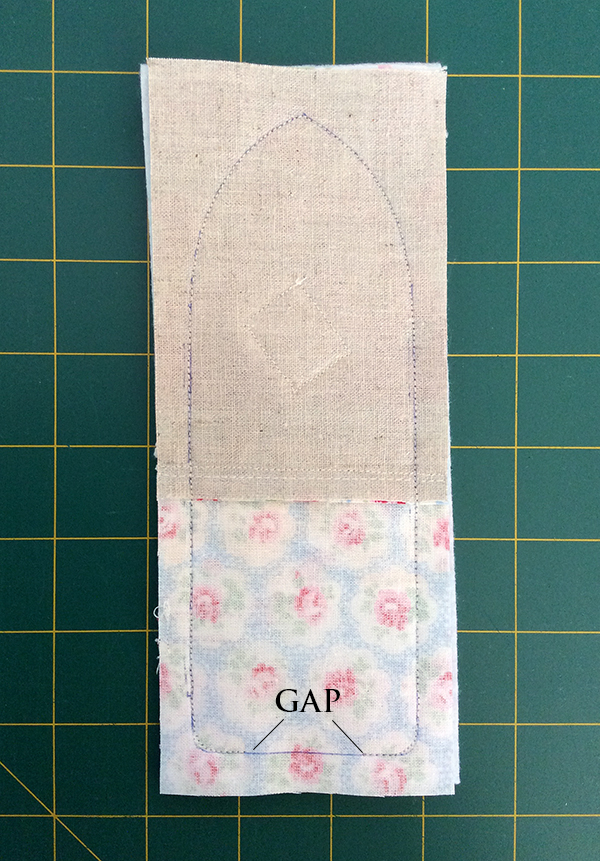
4. Trim away the excess fabric using your pinking shears (use ordinary scissors to cut quite near the seam at the pointy end as shown). Turn inside out through the gap at the bottom. You may need to insert something pointy to make sure the top point is as shown in the photos. Tuck in any excess fabric along the bottom into the gap neatly, and give the bookmark a quick iron before top stitching all the way around (which also closes the gap at the bottom).
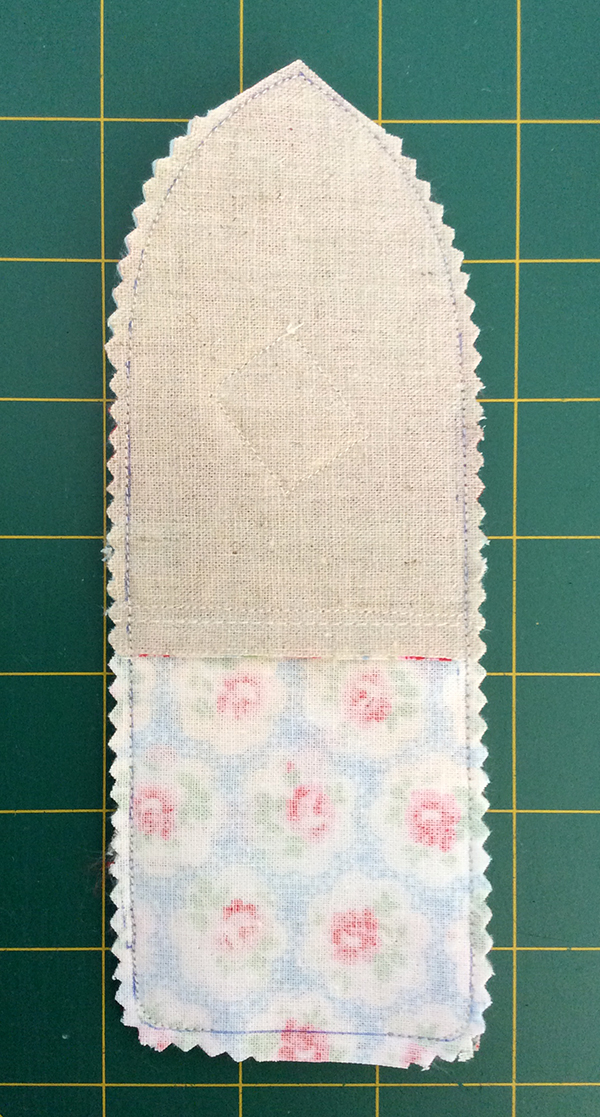
5. Punch an eyelet at the pointy end of the bookmark. Fold the leather cord in half, thread through the eyelet (folded end first), pull out a few cms, then thread the loose ends through the gap between the folded end of the cord and the eyelet, securing the cord in place. To make the ball, sew a running stitch all around the circle of fabric approximately 1/4 inch from the edge, tug the thread ends until the shape resembles a ball. Insert the loose ends of the leather cord inside the ball, then add some stuffing. Push the edges of the fabric inside the ball as neatly as you can, pull the thread ends more to form a gathered ball. Sew in place with a couple of stitches to secure . Sew a small button on the ribbon tag and your bookmark is ready!
